

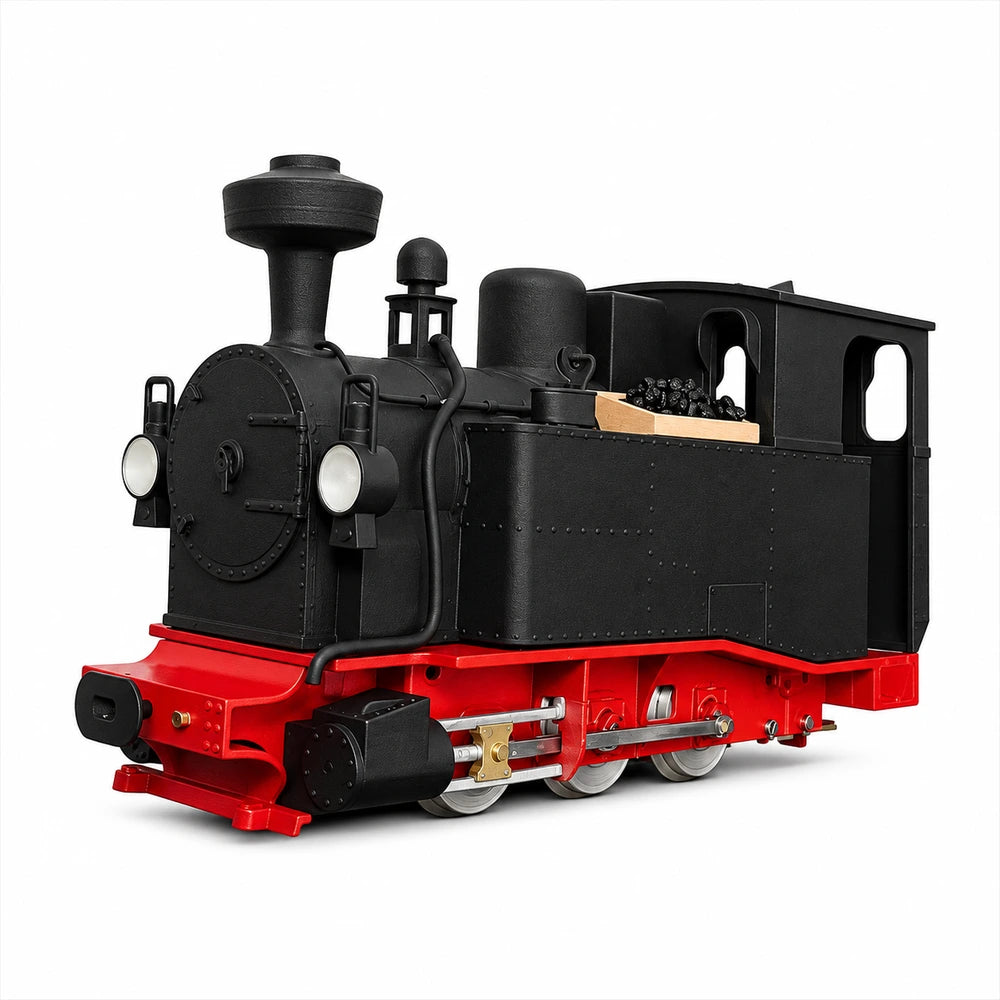
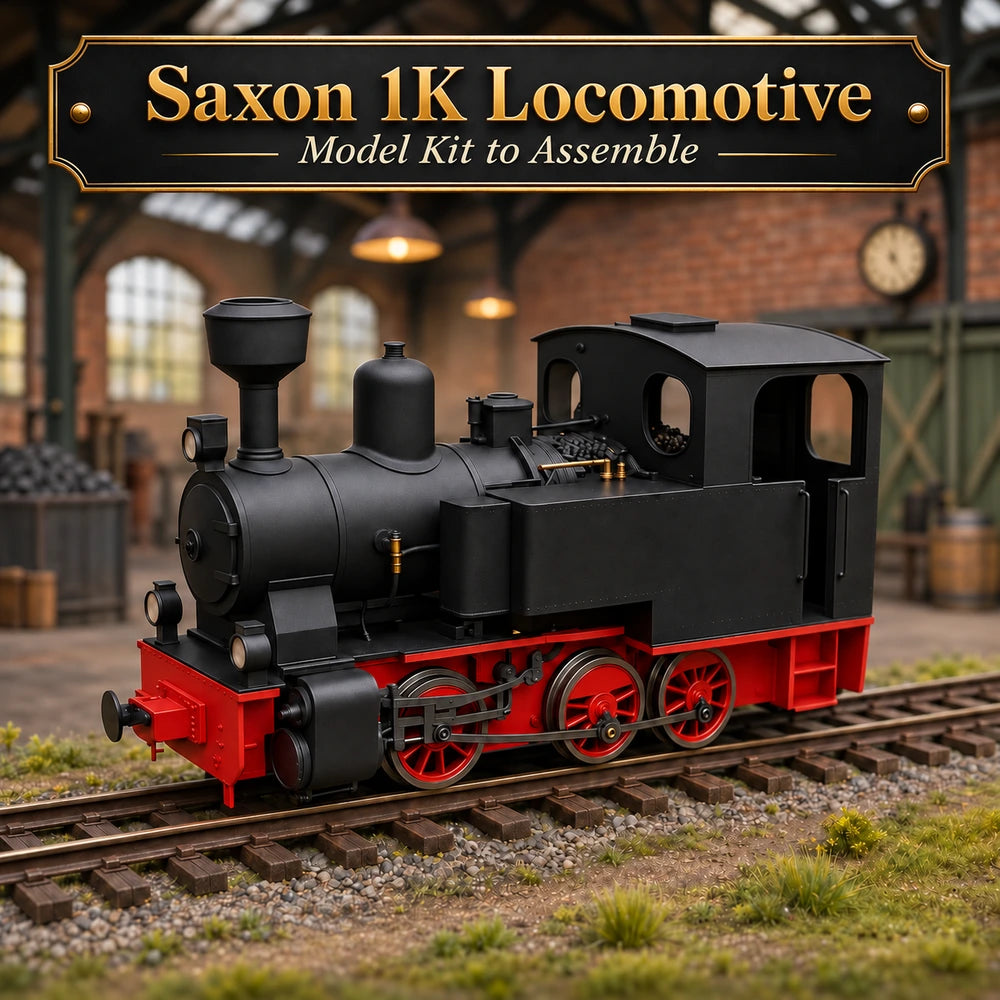
Build and paint your own 3D printed toy train.
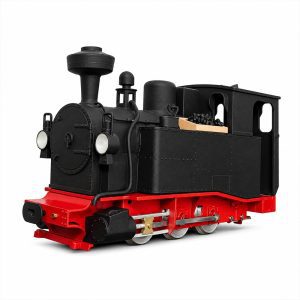
Turn a set of printed parts into a Saxon 1K steam locomotive with this 3D printed toy train kit. Designed for railway modellers and collectors, it gives you a hands-on project from the first dry fit to the final coat of paint. The tall chimney, enclosed cab and side rods give the finished model the character of a classic steam engine. Set it on a display shelf or make it the centrepiece of a railway diorama.
Assemble the Saxon 1K model locomotive kit
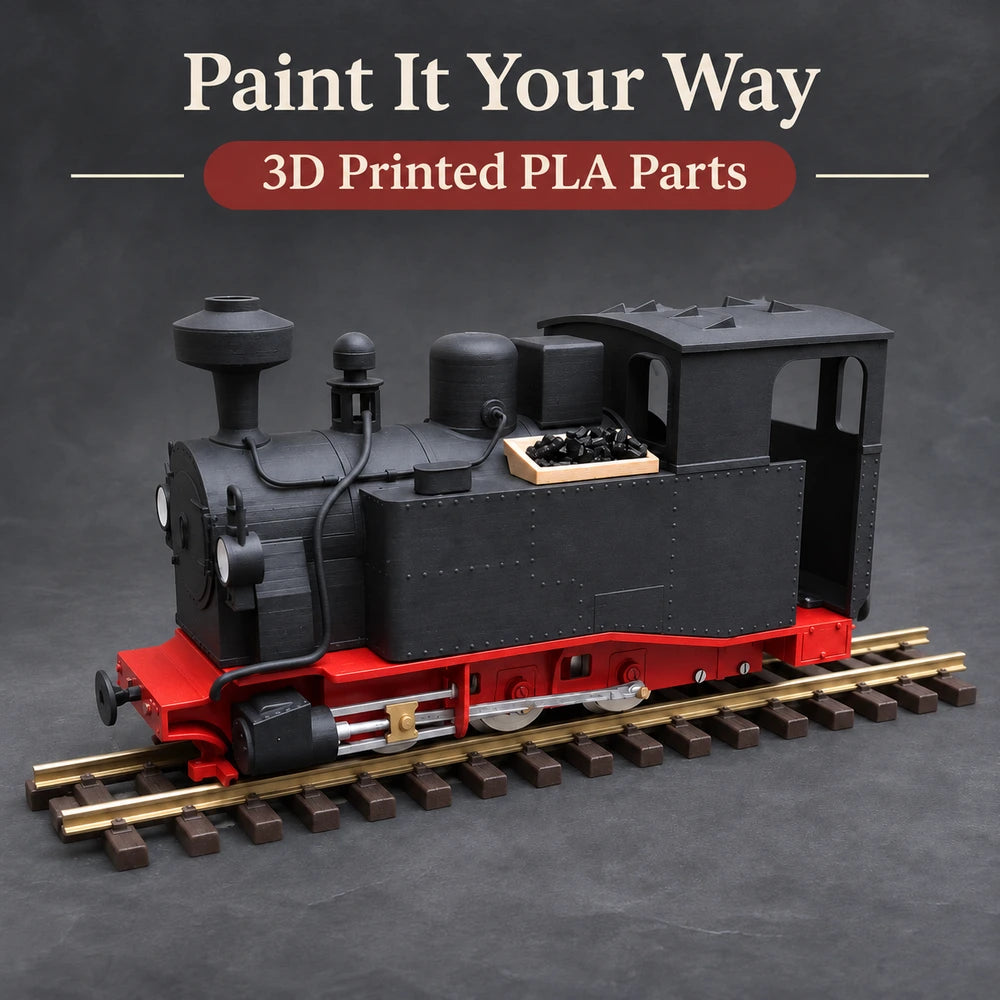
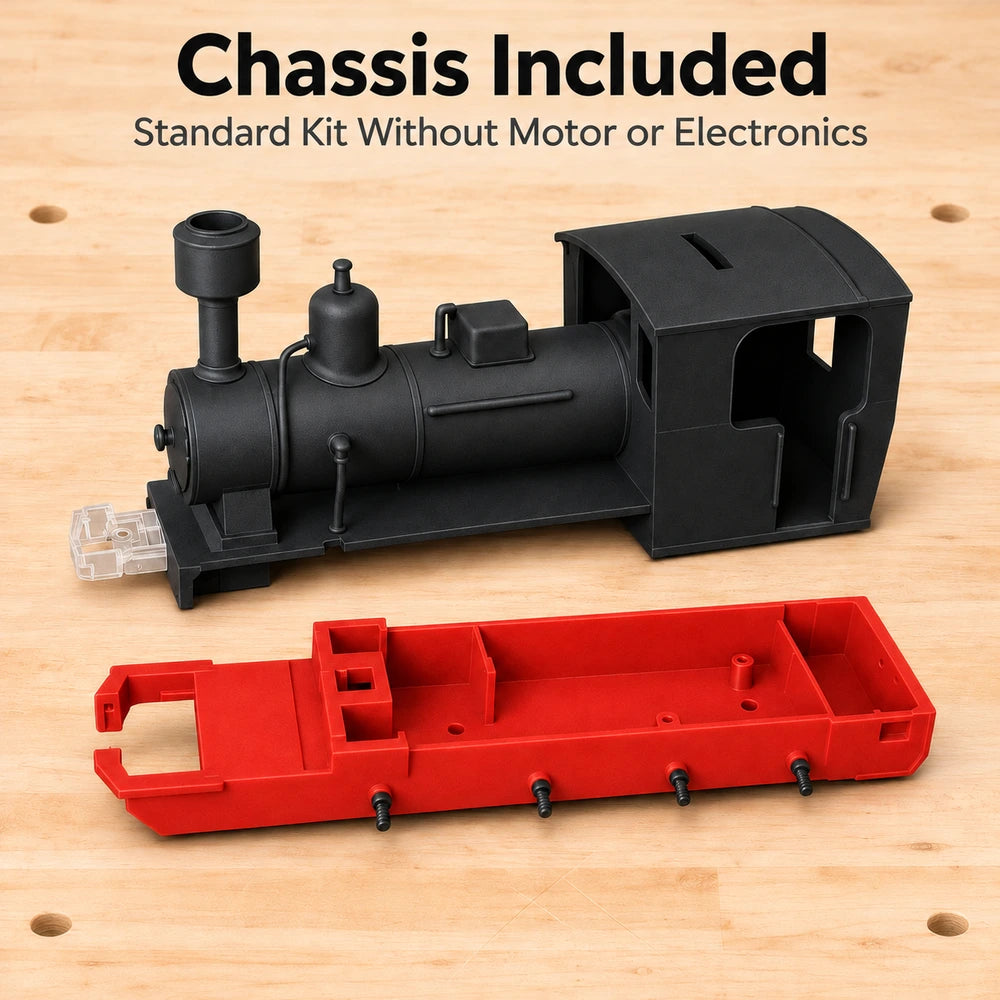
Start by fitting the body to the chassis, then check how the smaller pieces sit before gluing them. Some parts may need light sanding to improve the fit. Once you are happy with the assembly, you can paint the boiler, cab and chassis in your chosen railway colours.
- PLA as standard: Printed plastic parts you can prepare and paint.
- Chassis included: Start the build with the locomotive base supplied.
- Mechanical parts included: Fit components such as the wheels and rods during assembly.
- Unpowered standard kit: Build the locomotive without wiring or batteries.
FAQ
Frequently asked questions about 3D Printed Toy Train
Does the locomotive arrive assembled?
The Saxon 1K comes as a kit of physical, 3D printed parts for you to assemble. You will need to glue parts together, and some pieces may need light sanding. Try fitting the parts together before you apply adhesive.
What colour will I receive?
The standard kit comes in grey or black. The red and black locomotive in the photos illustrates a possible finished look. You can recreate that colour scheme by painting the body and chassis separately before bringing them together.
Does the standard kit include a motor or electronics?
The standard kit contains no motor, electronics or batteries. It includes the printed chassis and mechanical parts for the build. If you want a powered model, you will need to source a suitable motor and electronics separately.
What glue should I use to assemble the kit?
Superglue is recommended for joining the standard PLA parts. Check the fit of each joint first, then lightly sand any contact points that need it. Follow the adhesive instructions for application and curing before handling the assembled parts.
Discover our associated collections: 3D printed toys
Products to discover next: 3d printed wind up toy


Reviews
There are no reviews yet.